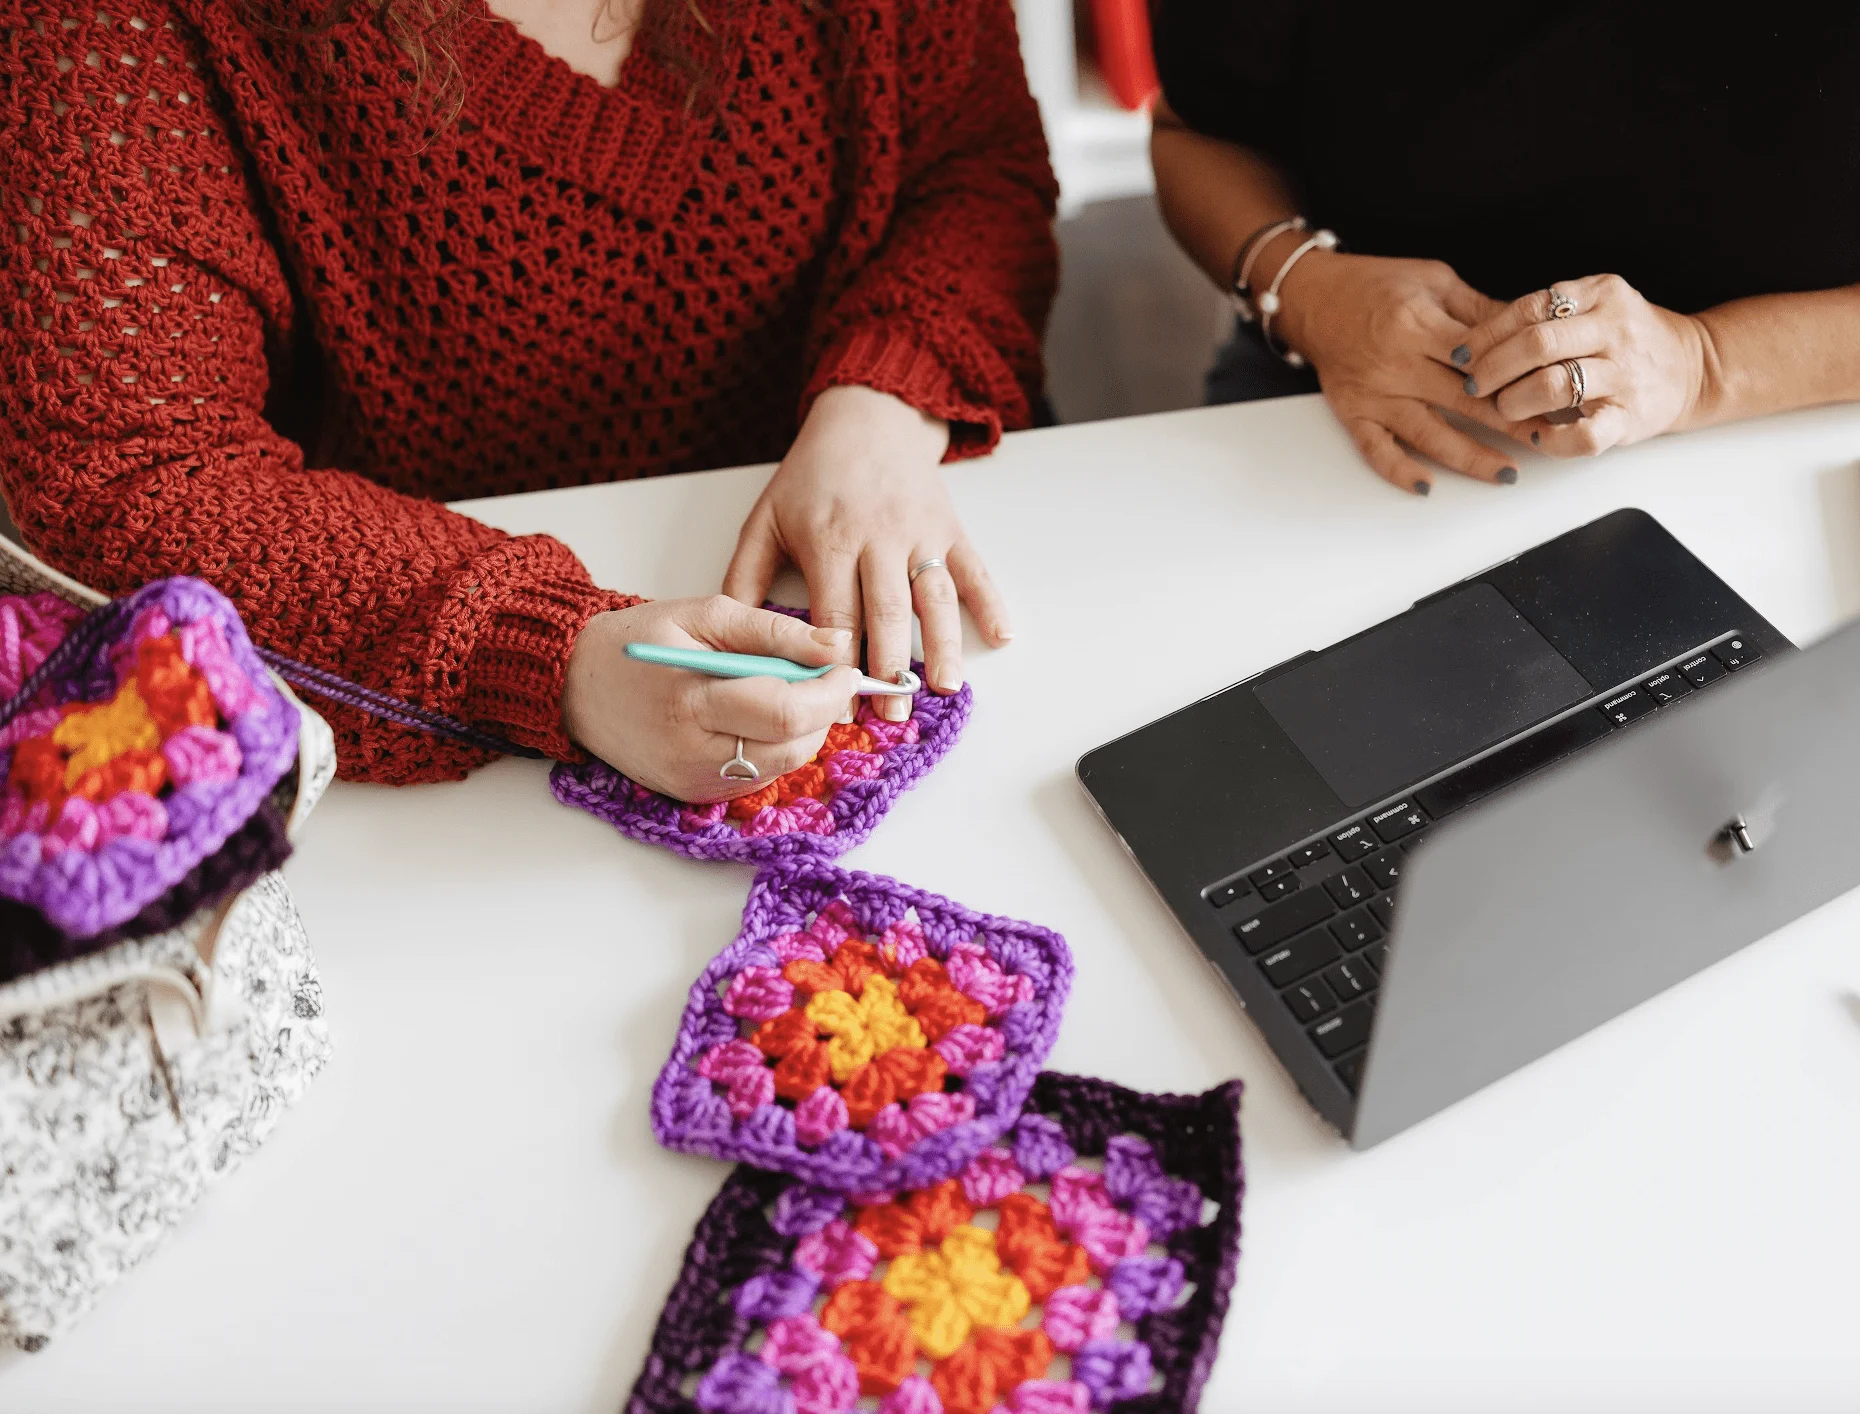
Selling patterns online opens up incredible opportunities to build a business around your creativity. But here’s the reality: with thousands of crochet patterns available online, quality is what separates patterns that sell from those that get lost in the shuffle.
So how do you make your patterns shine? The answer lies in crafting patterns that are not only beautiful but also clear, accurate, and enjoyable to follow. When makers can trust your instructions to lead them to success, they’ll come back for more and will tell their friends about you too.
In this guide, we’ll walk through the essential elements that transform a good pattern into a great one, setting you up for success as a crochet pattern designer.
[Get caught up: Where to Sell Crochet Patterns: Find the Perfect Platform for Your Business]
How to Write Crochet Patterns
Writing a crochet pattern is about more than just listing stitches and rows. It’s about guiding crocheters through your creative vision in a way that feels supportive and achievable.
Clear and Concise Instructions
Your instructions are the roadmap makers follow to bring your design to life. Clear writing makes the difference between a pattern that flows smoothly and one that leaves crocheters frustrated and confused.
1. Use Standard Crochet Terminology
Stick to widely recognized crochet terms and abbreviations. Whether you’re writing for US or UK terminology, be consistent throughout the pattern and clearly state which system you’re using at the beginning. Standard terminology helps crocheters follow along without stopping to decode what you mean by “special stitch XYZ.”
Your abbreviations list should include every term used in the pattern. Even experienced crocheters appreciate having a quick reference, and newer makers rely on it heavily. It’s best practice to locate the abbreviations list in the same section of your pattern every time. That way repeat customers can easily find their way around your pattern.
2. Break Down Complex Steps
When you’re working with intricate stitch combinations or complicated shaping, break the instructions into smaller, manageable pieces. Instead of cramming an entire complex row into one dense paragraph, separate it into logical steps.
For example, rather than: “Work 3 dc in next st, skip 2 sts, (sc, ch 3, sc) in next st, skip 2 sts, 3 dc in next st, ch 2, skip 1 st, repeat from * across,” consider breaking it into numbered steps or using spacing to show the repeat more clearly.
For complex stitches, consider adding a “Techniques” section at the beginning of your pattern to give a detailed explanation of how you create the stitch. An example of this would look like:
Techniques
Back Loop Only (BLO): Begin your stitch as usual. This is a swatch of double crochet so I’m going to begin by yarning over.
Insert your hook under the portion of the “v” that is farthest from you. Push the hook out through the back of the “v”.
Complete your stitch as usual.
3. Provide Helpful Tips and Explanations
Try to anticipate where crocheters might struggle and offer guidance. If a particular section tends to look messy before blocking, mention that. If your stitch count seems off but isn’t, explain why. These small notes prevent makers from frogging unnecessarily or abandoning the project out of confusion. This is where video and photo support for your patterns could come in handy.
Add tips about yarn substitution, ways to adjust sizing, or techniques that make tricky sections easier. These insights showcase your expertise and make your patterns more valuable.
Accurate Gauge Information
Gauge might seem like a minor detail, but it’s actually the foundation of a successful project. This is especially true for garments and tailored items.
1. Why Gauge Is Crucial
Gauge determines the final size and drape of the finished piece. When someone follows your pattern but works at a different tension than you did, their project comes out too big, too small, or with completely different fabric characteristics than intended.
A sweater pattern with inaccurate gauge information can result in a garment that doesn’t fit, leading to disappointed customers and potential refund requests. Even for items where exact sizing matters less, like blankets or amigurumi, gauge affects yarn requirements and the overall look of the piece.
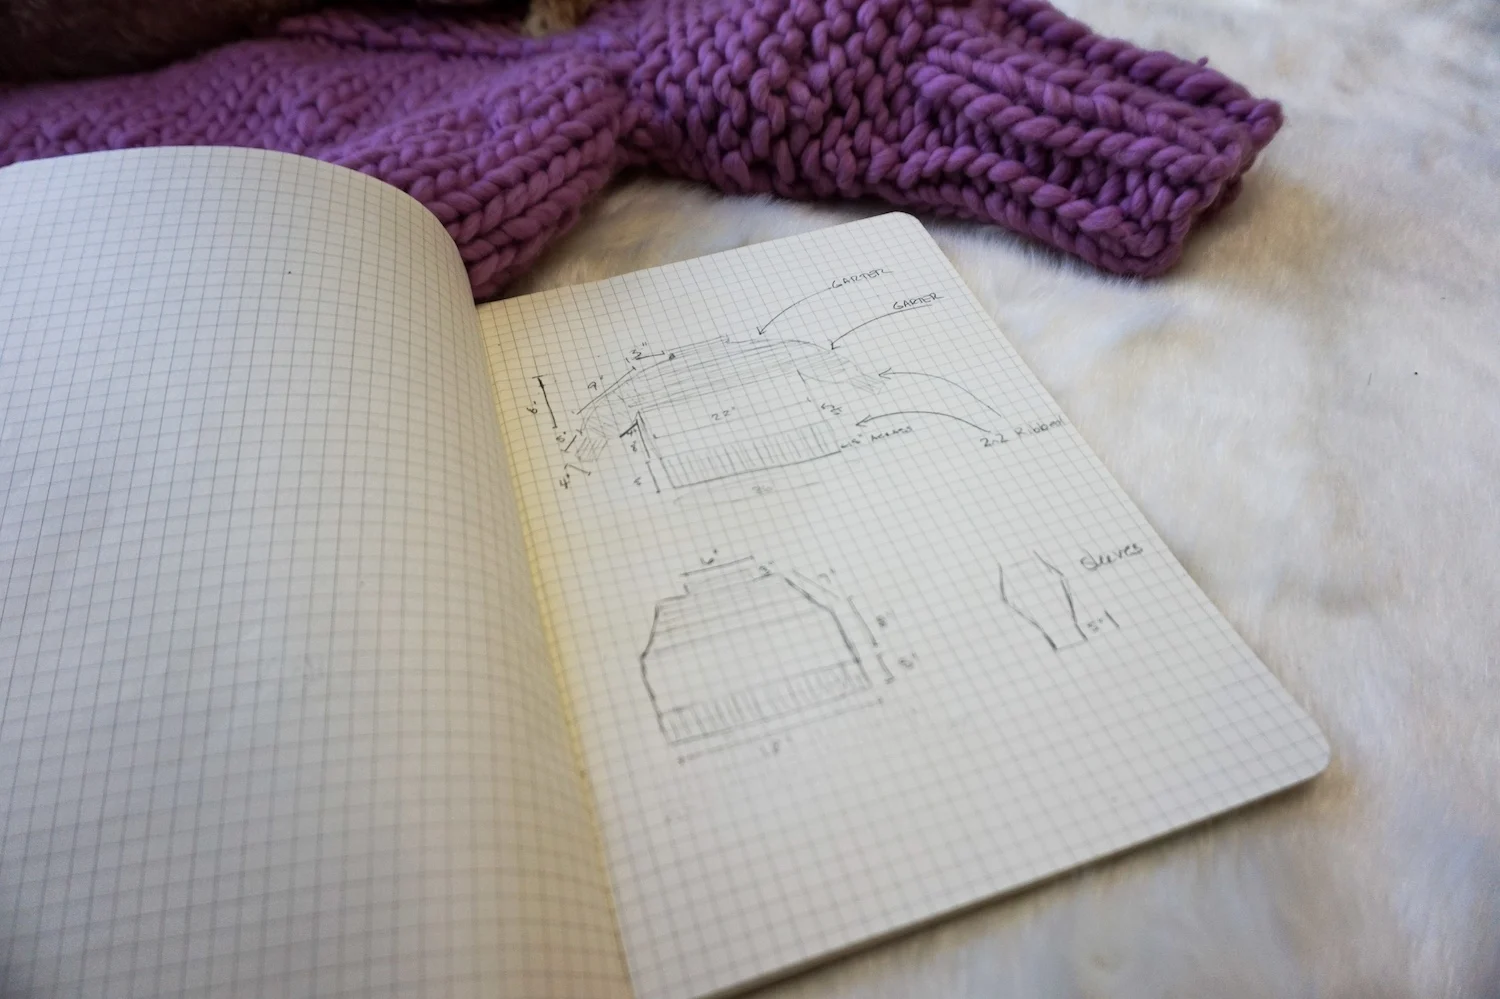
2. Provide Clear Instructions on Measuring Gauge
Don’t just list your gauge, explain how to measure it properly. Specify whether measurements should be taken before or after blocking, and indicate the stitch pattern used for the gauge swatch. Having a detailed schematic and measurements for every section of your project goes a long way.
Be explicit: “Gauge: 18 sts and 10 rows = 4″ in pattern stitch, measured after blocking” is much more helpful than just “18 sts x 10 rows.”
Include instructions for making a proper gauge swatch that’s large enough to measure accurately (at least 4″ square for most projects). Remind crocheters to measure in the middle of the swatch, not at the edges where tension often varies. You can even recommend gauge tools that you use regularly. This is also a great opportunity to plug in any affiliate links you may have.
[See our post, Yarn Substitution: How to Successfully Swap Yarns for Any Pattern]
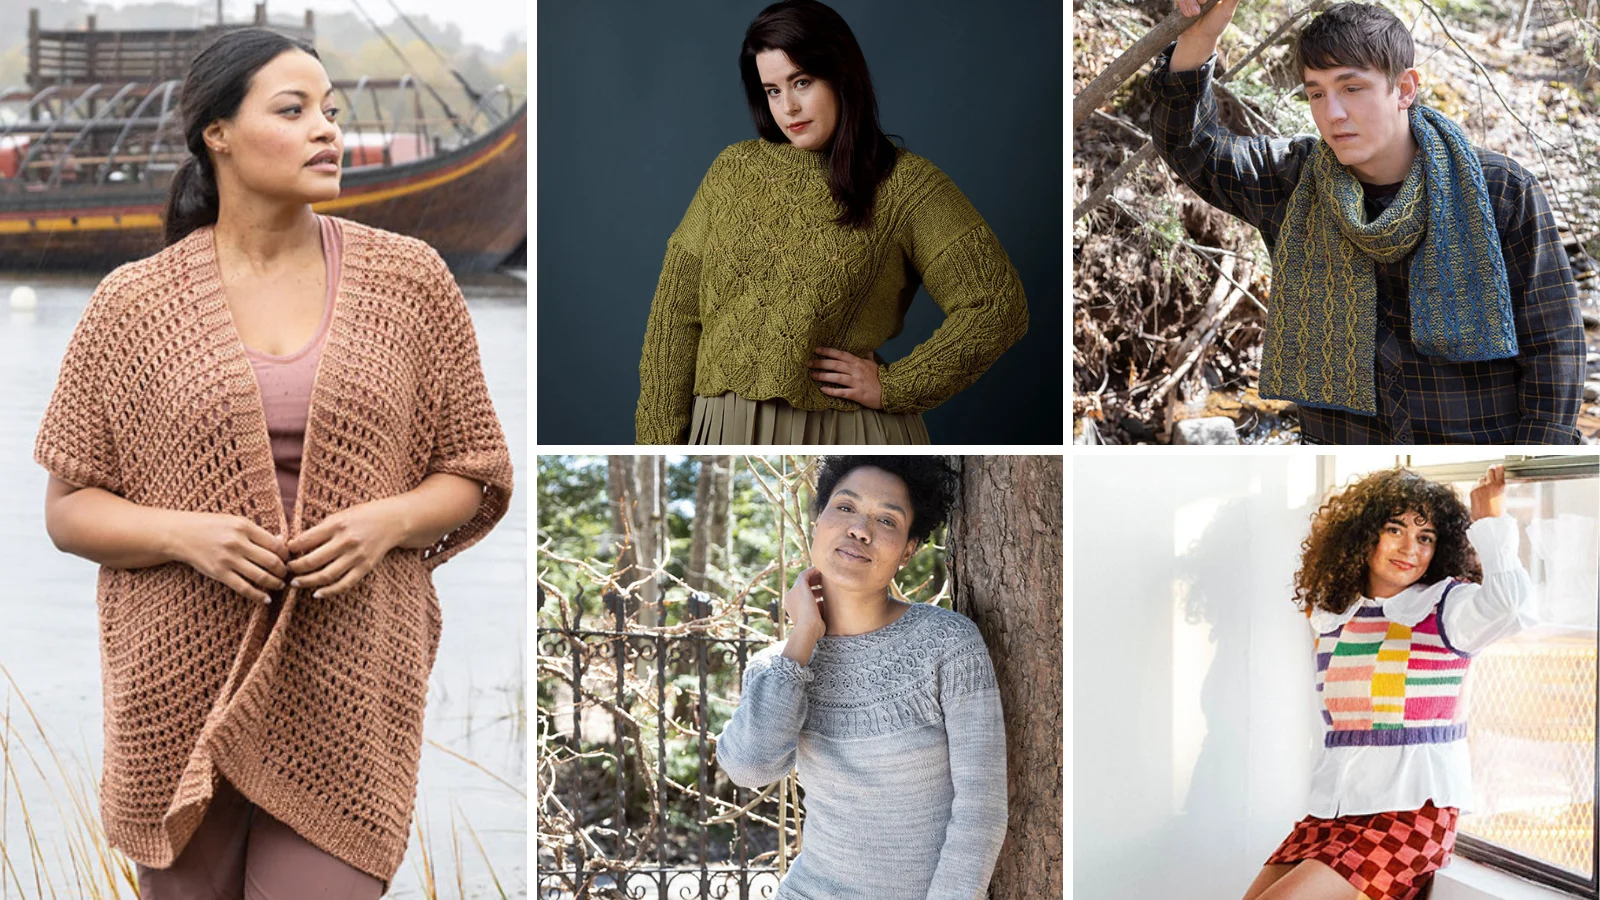
High-Quality Photos
Your photos serve double duty: they sell the pattern and they guide makers through the creation process.
1. Well-Lit, In-Focus Images of the Finished Project
Photography doesn’t require professional equipment, but it does require attention to detail. Natural light works beautifully. Shoot near a window on an overcast day for soft, even lighting without harsh shadows.
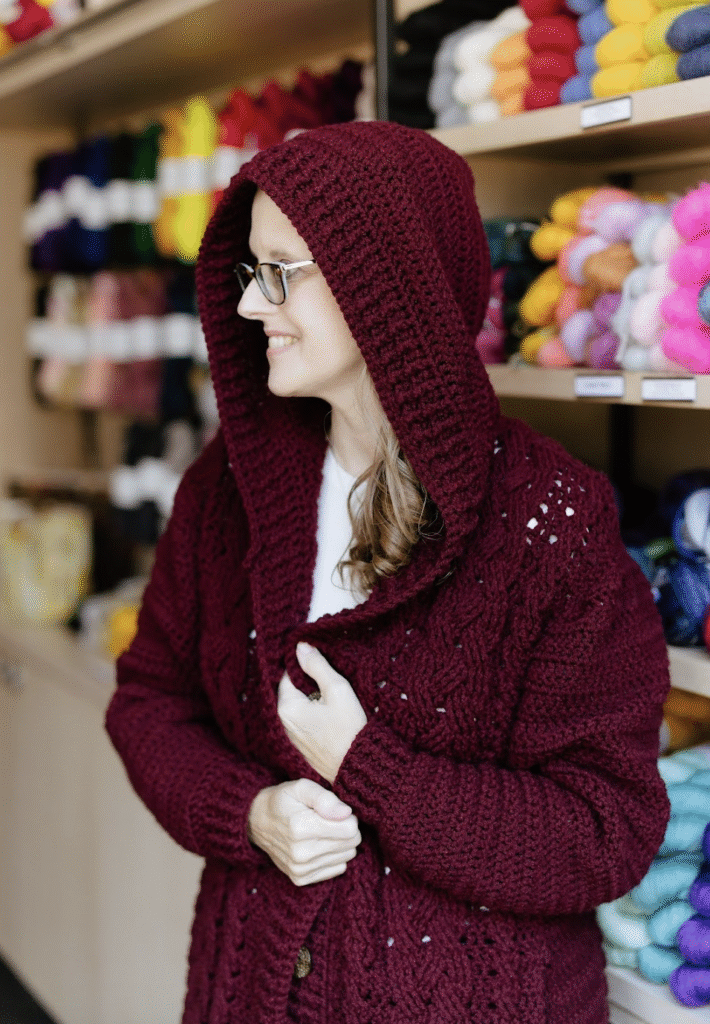
When creating flat lays, make sure your finished piece is the star. Use simple backgrounds that don’t compete for attention. Show the item being used or worn when possible, so makers can visualize the scale and how it drapes or fits. If you are not comfortable being on camera, you can always crop the image to not include your face. But seeing the project in use helps the stitcher to imagine it in their world.
Include multiple angles. A cowl needs photos showing it laid flat, worn loosely, and worn scrunched up. A garment needs front, back, and side views. Don’t assume one photo tells the whole story. But at the same time, know when enough is enough. Five slightly different images from the same angle could harm the listing rather than help.
[Here’s our guide to get help you get started: Photography Tips For Designers.]
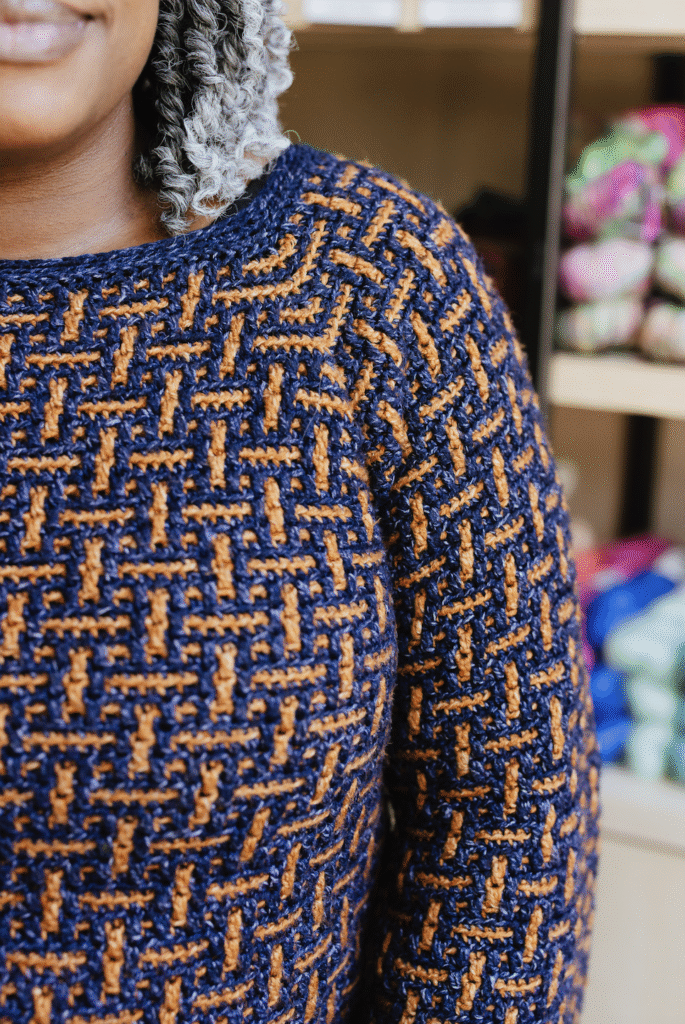
2. Close-Ups of Stitch Details and Special Techniques
Detail shots help makers understand what they’re working toward and confirm they’re on the right track. If your pattern includes special stitches, texture work, or intricate colorwork, photograph those sections clearly.
Step-by-step photos for unusual techniques can prevent hours of frustration. A photo showing exactly how to work a difficult join or where to insert the hook for a special stitch is worth pages of written explanation.
Note, if you are going to do this, think about the printability of the pattern. You can say “See Image 2 on page 10” within the pattern line and then put your step-by-step photos at the end of your pattern so that the maker can choose if they want to print out a full page of photos or simply reference the photos as needed digitally.
Jessie Rayot
Natalie
Easy-to-Read Formatting
Even the clearest instructions fail if crocheters can’t easily read and navigate them.
1. Use a Clean and Professional Font
Choose readability over decoration. Your pattern font should be large enough to read comfortably (at least 11-point for body text) and highly legible. Avoid script fonts or overly stylized options that become hard to read after staring at them for hours while crocheting.
Stick to one or two fonts maximum. Choose one for headings and one for body text. And then keep these font choices consistent across all of your patterns. Too many fonts create visual chaos.
Reference the ADA Compliance site to learn more about font accessibility.
2. Organize with Headings and Bullet Points
Structure your pattern with clear sections: Materials, Abbreviations, Gauge, Pattern Notes, Instructions, and Finishing. Use headings to mark major sections and subheadings for different pattern pieces.
Bullet points work beautifully for materials lists, abbreviation keys, and pattern notes. They’re easier to scan than dense paragraphs and help crocheters find information quickly when they need to reference it mid-project.
3. Use White Space Effectively
Cramming information onto fewer pages might save paper, but it makes patterns harder to use. White space gives readers’ eyes a place to rest and makes the pattern less overwhelming.
Add space between rows or rounds, especially in written-out instructions. Separate major sections clearly. If you’re including both written instructions and charts, give each breathing room so crocheters don’t accidentally follow the wrong format.
Line spacing matters too. Cramped text is exhausting to read when you’re checking your place repeatedly while working.
Remember to use the CYC’s Standards and Guidelines for Crochet and Knitting when building your pattern.
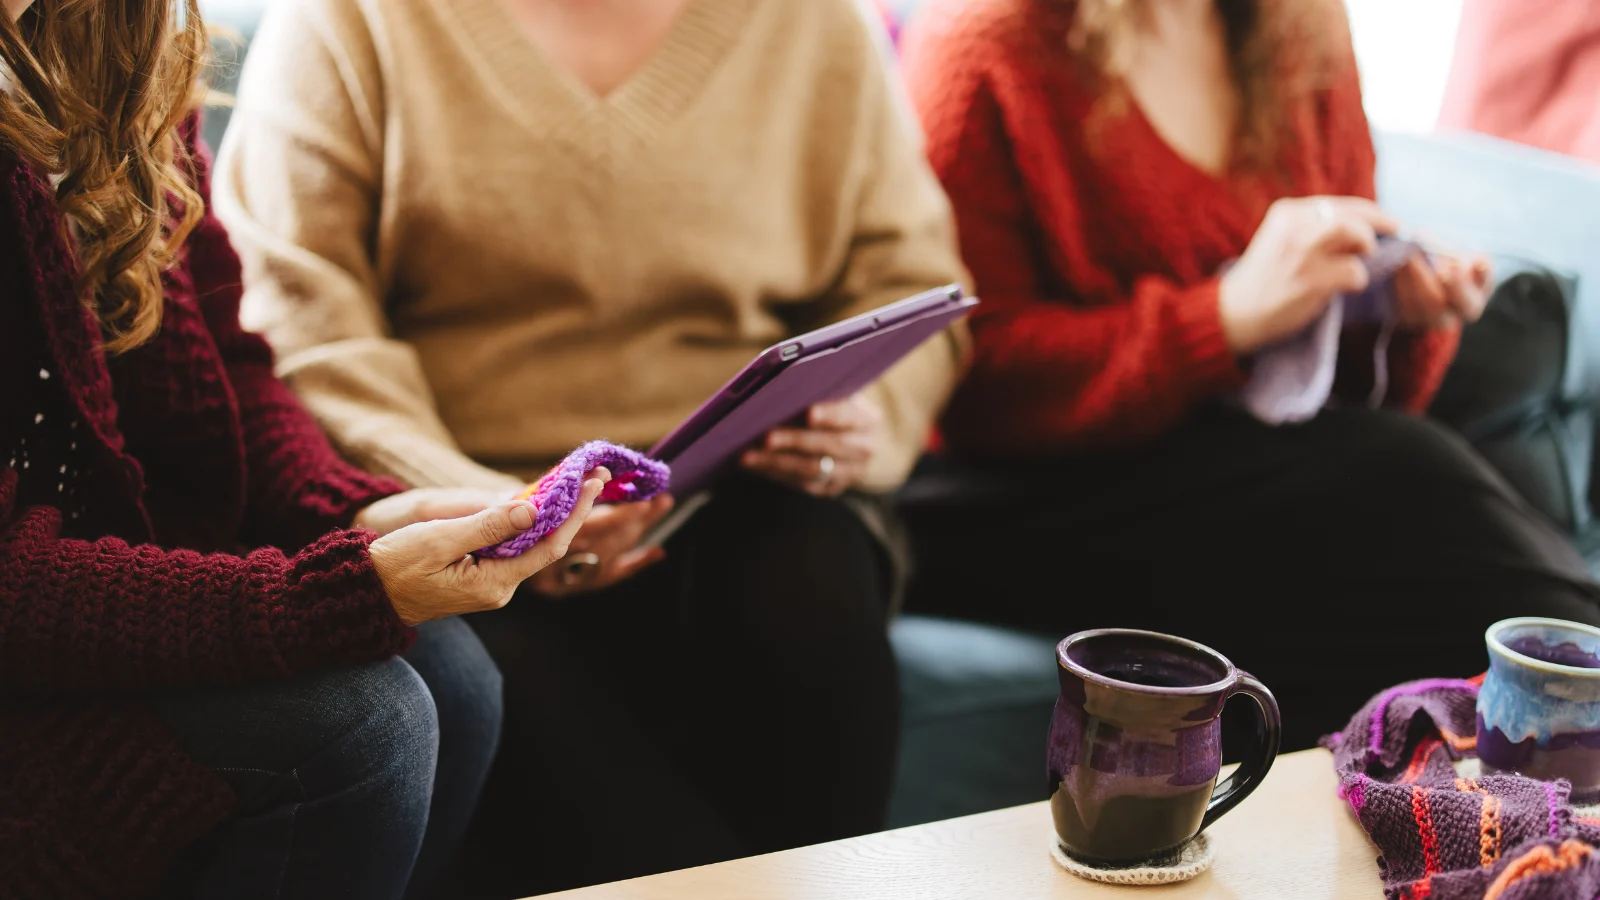
Testing Your Pattern
No matter how carefully you write your pattern, you need other crocheters to test it before you publish. Fresh eyes catch errors you’ve looked at a hundred times without seeing.
1. Why Testing Is Essential
Test crocheters work through your instructions exactly as written and identify confusing sections, missing information, or actual errors in stitch counts and shaping. They’ll find typos, point out where you skipped explaining a technique, and let you know if your yarn requirements are accurate.
Testing also provides proof that your pattern works. When multiple people successfully complete your design, you can confidently publish knowing your customers will succeed too.
2. How to Find Testers
Start with your existing network. Ask friends who crochet, members of your local crochet group, or followers on social media. Many crocheters enjoy testing patterns because they get early access to new designs, often at no cost or at a discount.
Join online testing communities on Ravelry, Facebook, or Instagram where testers and designers connect. Be clear about your timeline and what you’re offering in exchange (free pattern, discounted pattern, early access, etc.).
Look for testers who match your target audience skill level. If you’re designing a beginner pattern, you need beginner testers who will flag instructions that assume too much knowledge. For advanced patterns, experienced crocheters can provide valuable feedback on technique and construction.
3. Using Feedback to Improve Your Pattern
When testers report issues, listen carefully. Think of each tester as a representative for ten more with the same question. If one person finds something confusing, others will too. If multiple testers stumble at the same spot, that section definitely needs revision or a support video.
Not every suggestion requires implementation, but patterns always improve when you stay open to feedback. Sometimes a simple clarifying sentence or an additional photo solves a problem you didn’t even realize existed and saves you hours of customer service follow ups.
Thank your testers genuinely and credit them in your pattern if they’re comfortable being named. Building good relationships with testers means they’ll want to work with you again on future designs.
Consider taking your patterns one step further with the help of a tech editor. The Art of Crochet Tech Editing with Julie ACCROchet
Why Crochet Pattern Quality Matters
Creating high-quality crochet patterns takes time and effort, but it’s one of the best investments you can make in your success as a pattern designer.
1. Quality Attracts Buyers
Crocheters talk to each other. When your patterns consistently deliver clear instructions, accurate information, and beautiful results, word spreads. Good reviews lead to more sales. Satisfied customers come back for your next release and recommend you to their crochet friends.
2. Building Your Reputation
Consistency matters. When crocheters buy from you once and have a great experience, they trust that your other patterns will be equally well-crafted. This loyalty is what transforms pattern design from occasional sales into sustainable income.
What’s Next
You’ve designed a beautiful piece and written clear, tested instructions! Now it’s time to keep growing. We’ve pulled together some excellent resources to help you continue improving your patterns as a crochet designer.
Keep Learning:
- SEO for Knit & Crochet Pattern Sales: Boost Visibility While Keeping Your Brand Voice
- Where to Sell Crochet Patterns: Find the Perfect Platform for Your Business
- Yarn Guide Part One: Understanding Yarn Weight Charts
- The Art of Crochet Tech Editing with Julie ACCROchet
- Getting Started as a New Crochet or Knitwear Pattern Designer