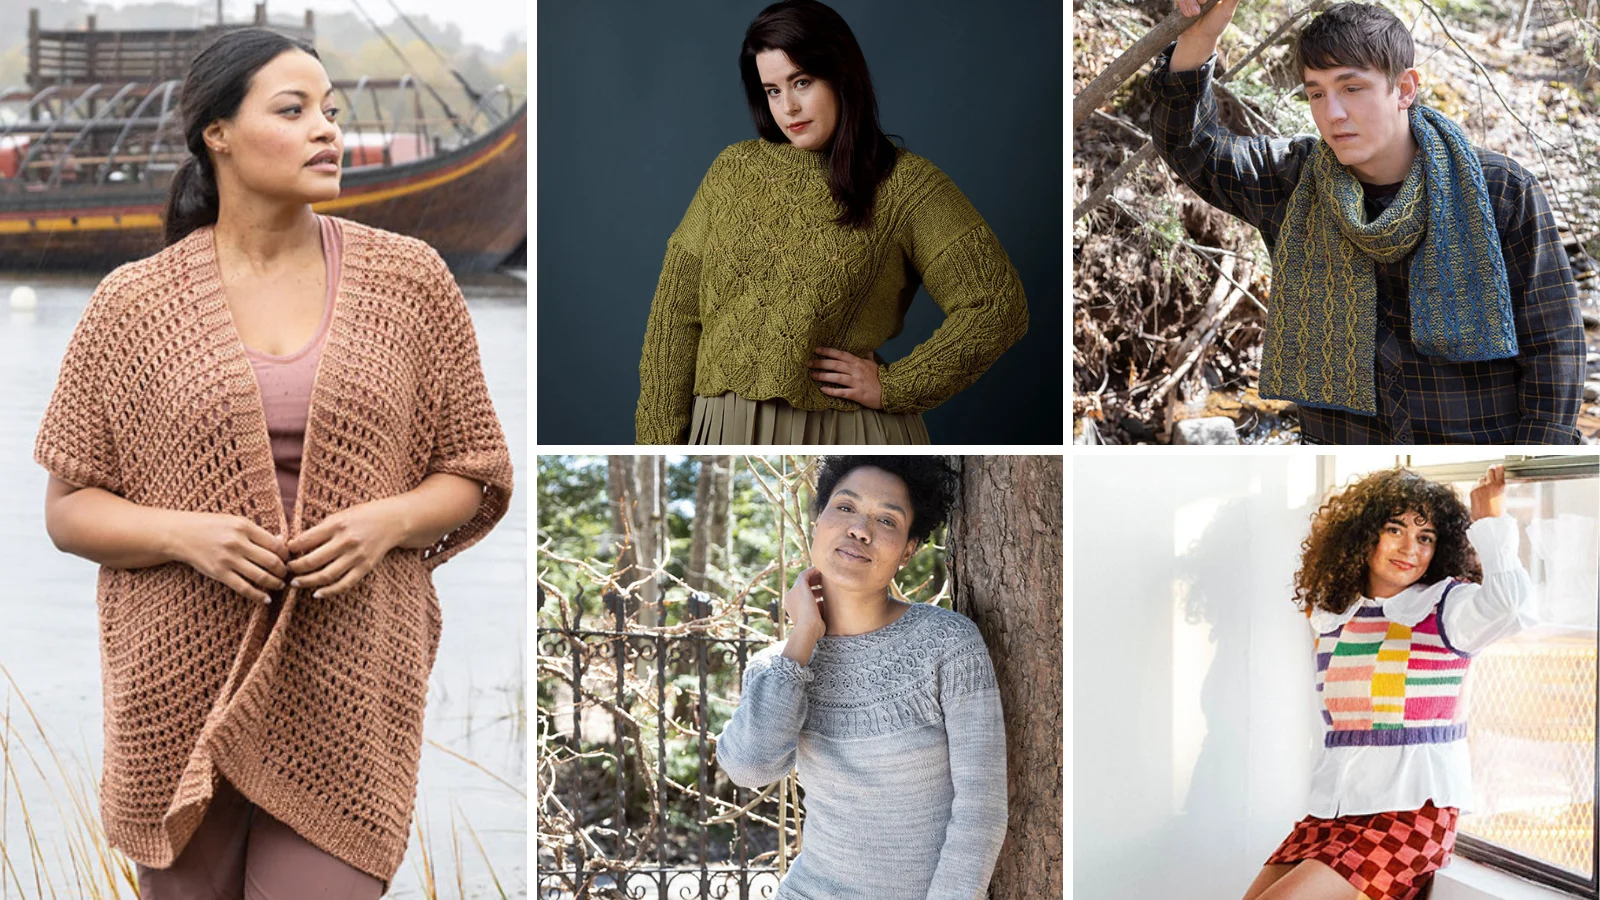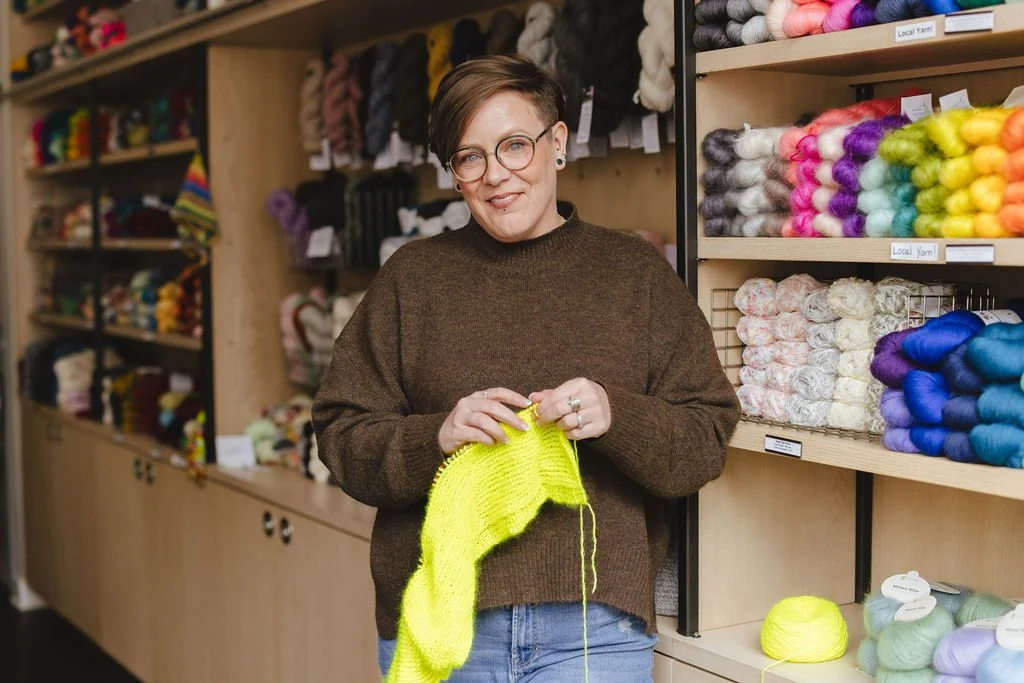
We’re excited to welcome Julie Desjardins, the designer and educator behind ACCROchet, as our latest GoSadi guest blogger. Julie designs modern crochet patterns, teaches workshops to crocheters of all levels, and offers professional tech editing and translation services to help crocheters take their knowledge or business to the next level. In this blog post, she shares her thoughts on what makes for great crochet designs that both inspire crocheters and empower them.
When a crocheter discovers a beautiful, well-structured crochet pattern, they only see the end result of a very long process. Behind every great crochet pattern lie days, weeks, even months of painstaking work, precise calculations and rigorous revisions. The swatching, writing, grading, testing and technical editing of a crochet pattern are not optional steps: they are the foundations that make a pattern worthy of a crocheter’s time.
For crochet pattern designers and content creators, understanding these technical processes transforms a simple crochet project into a reliable, professional product. Join me as I take you behind the scenes of modern crochet design, where art meets precision.
The Gauge Swatch: Creating the Perfect Fabric, Density, Stitch, and Drape
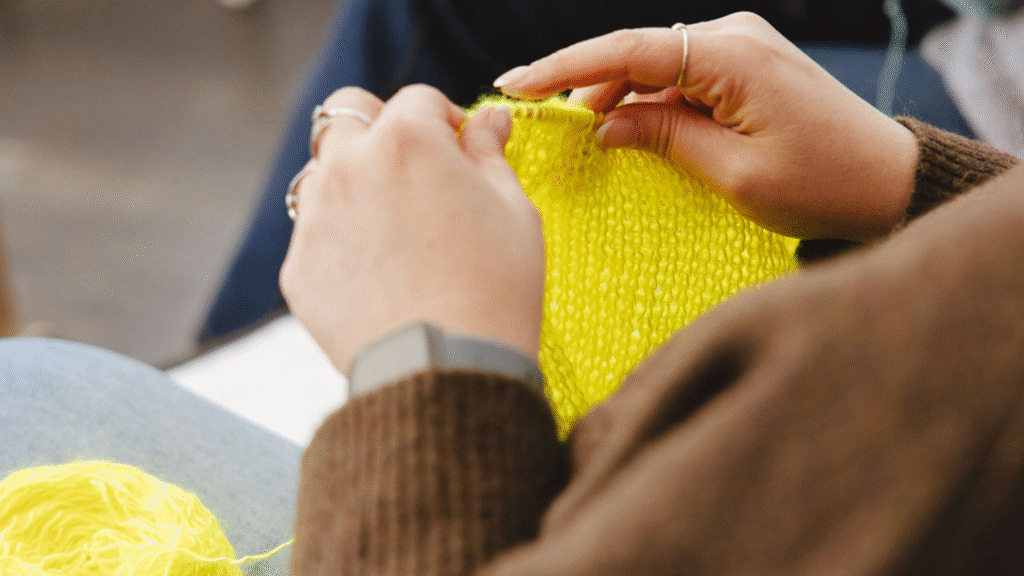
Before jumping into the design of a garment or other crochet project, the designer must create a gauge swatch (or gauge swatches!) with the chosen yarn and an appropriate hook. This step, often overlooked by crocheters of all levels, is crucial.
The swatch reveals how the yarn interacts with the chosen stitches or stitch patterns, what the final crocheted fabric will look and feel like and, maybe most importantly, how much yarn a crocheter will actually need to crochet the project in a given size.
A good gauge swatch measures 12 cm x 12 cm at a minimum (15 cm x 15 cm is even better) so that you can measure a 10 cm x 10 cm section at its center – edge stitches being famously unreliable. Once crocheted, the swatch is washed and blocked just as the final project will be. Why? Because some yarns contract, others swell, and many fibers behave differently before and after washing. Neglecting this step can be very costly in time and materials…as well as frustrating for crocheters following your pattern.
As a designer, you must swatch every different stitch or stitch pattern used in your design. If the pattern combines sections of moss stitch, crochet lace and single crochet rows, the tension of each must be measured. This information is invaluable, as it indicates whether one of these stitches pulls more than the others and requires a slightly different hook or stitch count, for example.
[Get more gauge tips from designer Patty Lyons in this blog post.]
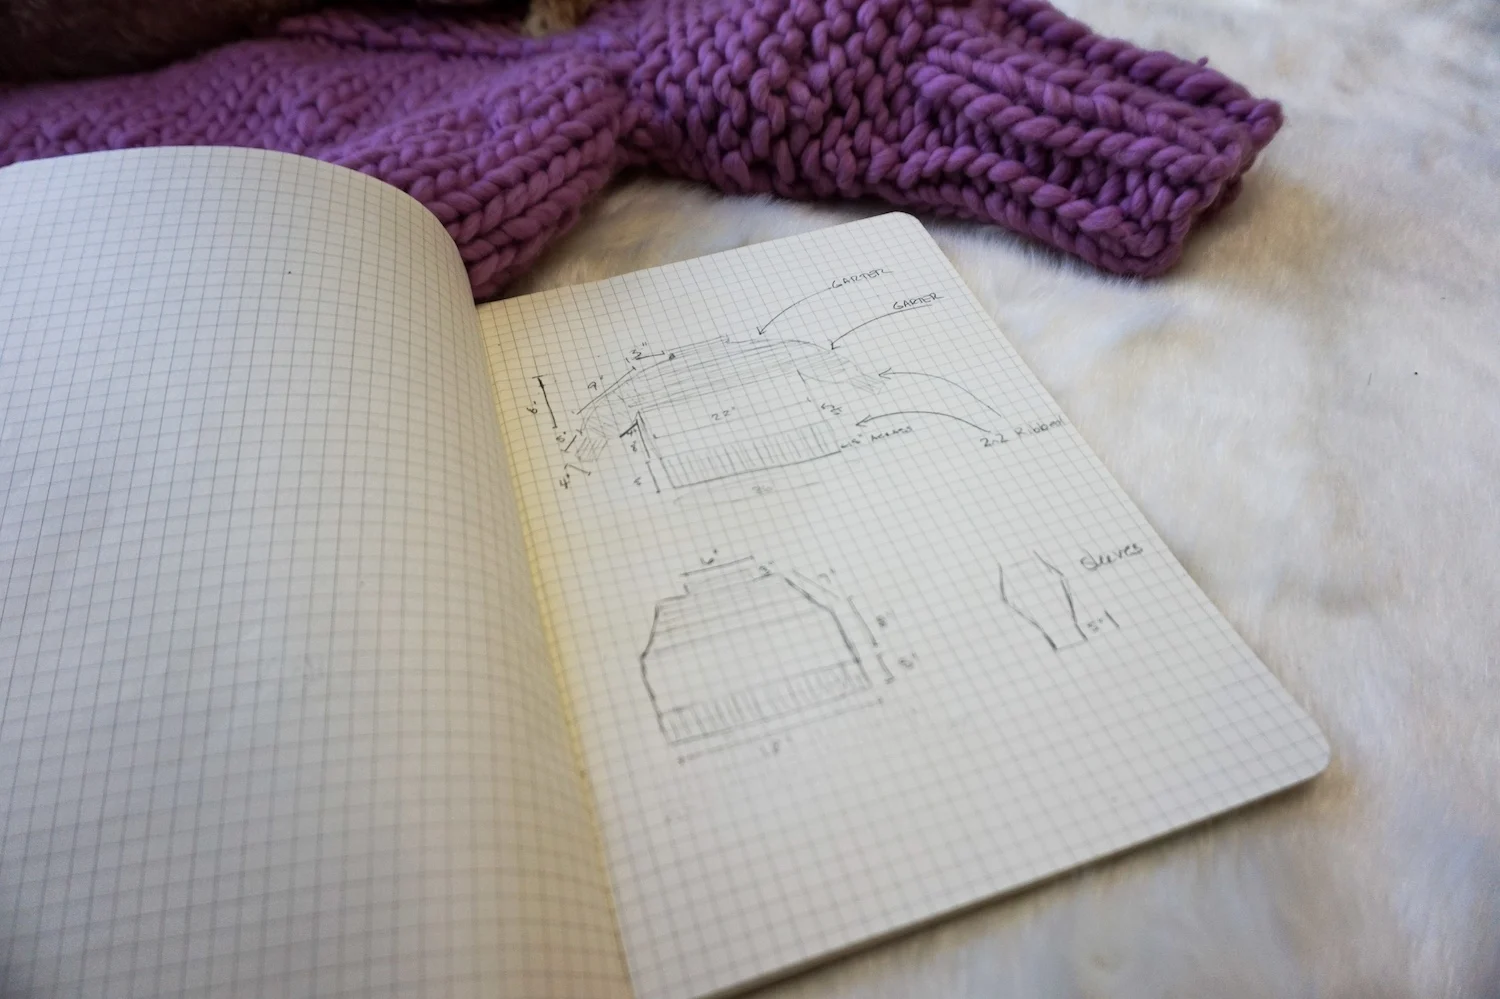
Grading: Adapting the Design to Suit a Wide Range of Sizes
For fitted garments or sized accessories, grading transforms your personal project into a crochet pattern for the masses. This is where math comes into play, but it’s also the art of proportionally adapting a design so that each size is harmonious and wearable.
Good grading is never a simple linear multiplication of measurements. An experienced designer adjusts the increases progressively according to the garment’s zones. For a sweater, increasing the chest by a certain number of centimeters between each size is common, but increasing the length of the body or sleeves must consider the natural proportions of the human body. An identical increase for all parts would create garments that are poorly proportioned for larger sizes.
Grading also requires thoughtful consideration of stitches and pattern repeats. A pattern that fits beautifully in size S may require adjustments in sizes L or 5X to maintain its aesthetic appeal. This sometimes means increasing or decreasing the number of stitches, or repositioning patterns on the garment. As a designer, your job is to anticipate these challenges at the initial design stage to facilitate grading.
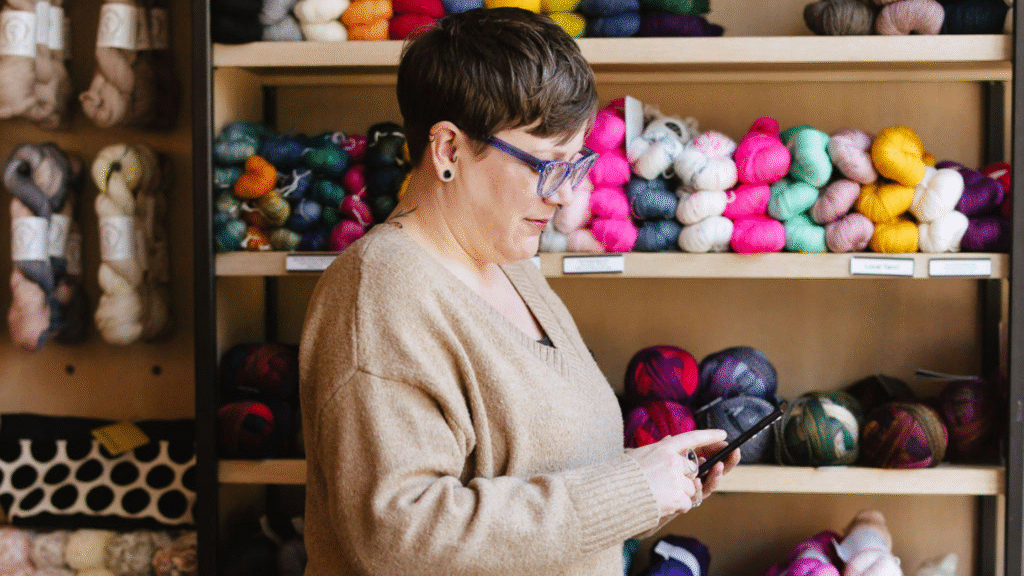
The Materials List: Helping Crocheters Make Informed Choices
An often overlooked or glossed over section of the pattern is the materials list. Yet it’s such an important part that it deserves careful review from the designer…just as the instructions themselves do. Crocheters rely on this information to estimate the cost of the project, plan their yarn purchases and determine whether they already have the necessary tools.
The supplies list should be detailed and exhaustive. This means including the brand, composition, and total amount of yarn used (in grams and meters) and the recommended hook size, but all the other required supplies as well: stitch markers (how many?), tapestry needle, scissors, and any specialized notions required. Do you need a sewing needle? Blocking tools? Buttons? Every detail matters.
And don’t forget to note finishing steps and options. If the project can have buttons or bows, fringe or tassels, indicate that. If your design works with different yarn weights, create a section of possible substitutions with corresponding recommended hooks and expected size changes. This transparency transforms a simple list into a truly useful resource guide for the crocheter planning their project.
The Language & Terminology of Crochet: Aim for Clarity Above All
A fundamental aspect of great crochet design is the consistent mastery of the vocabulary and language used, as well as the formatting. Even the most beautiful design falls apart if the language describing it is imprecise or inconsistent. This is particularly true in an industry where terms can vary considerably according to region, language of origin and individual conventions.
From the outset, you must establish a personal glossary or reference an existing standard (this is called a style sheet). Do you use “double crochet”, “Double Crochet”, or “double crochet stitch”? It’s not about choosing the “right” term, rather it’s about being consistent throughout the pattern, and throughout your library of patterns. If you start with “double crochet stitch”, continue to use exactly that term, not “double crochet” or “Double Crochet” on the next row, or in the next pattern. This consistency allows the crocheter to build up a progressive understanding rather than wondering if you’re referring to different techniques.
Clarity of language also extends to abbreviations and symbols. Do diagrams use the same symbol as the one defined at the start of the pattern? Are abbreviations clearly explained in a dedicated section? A crocheter should never have to guess what “sl st” means. For patterns that are translated or intended for international audiences, this becomes even more critical. Terms used in one English-speaking country may not correspond exactly to those used in another, and it’s important to specify the convention used.
As an experienced content creator, you know that language is a powerful tool for guiding crocheters through your patterns. Investing time in this terminological clarity means that your creative vision shines through unambiguously, and that everyone who crochets your designs gets the experience you’ve imagined for them.
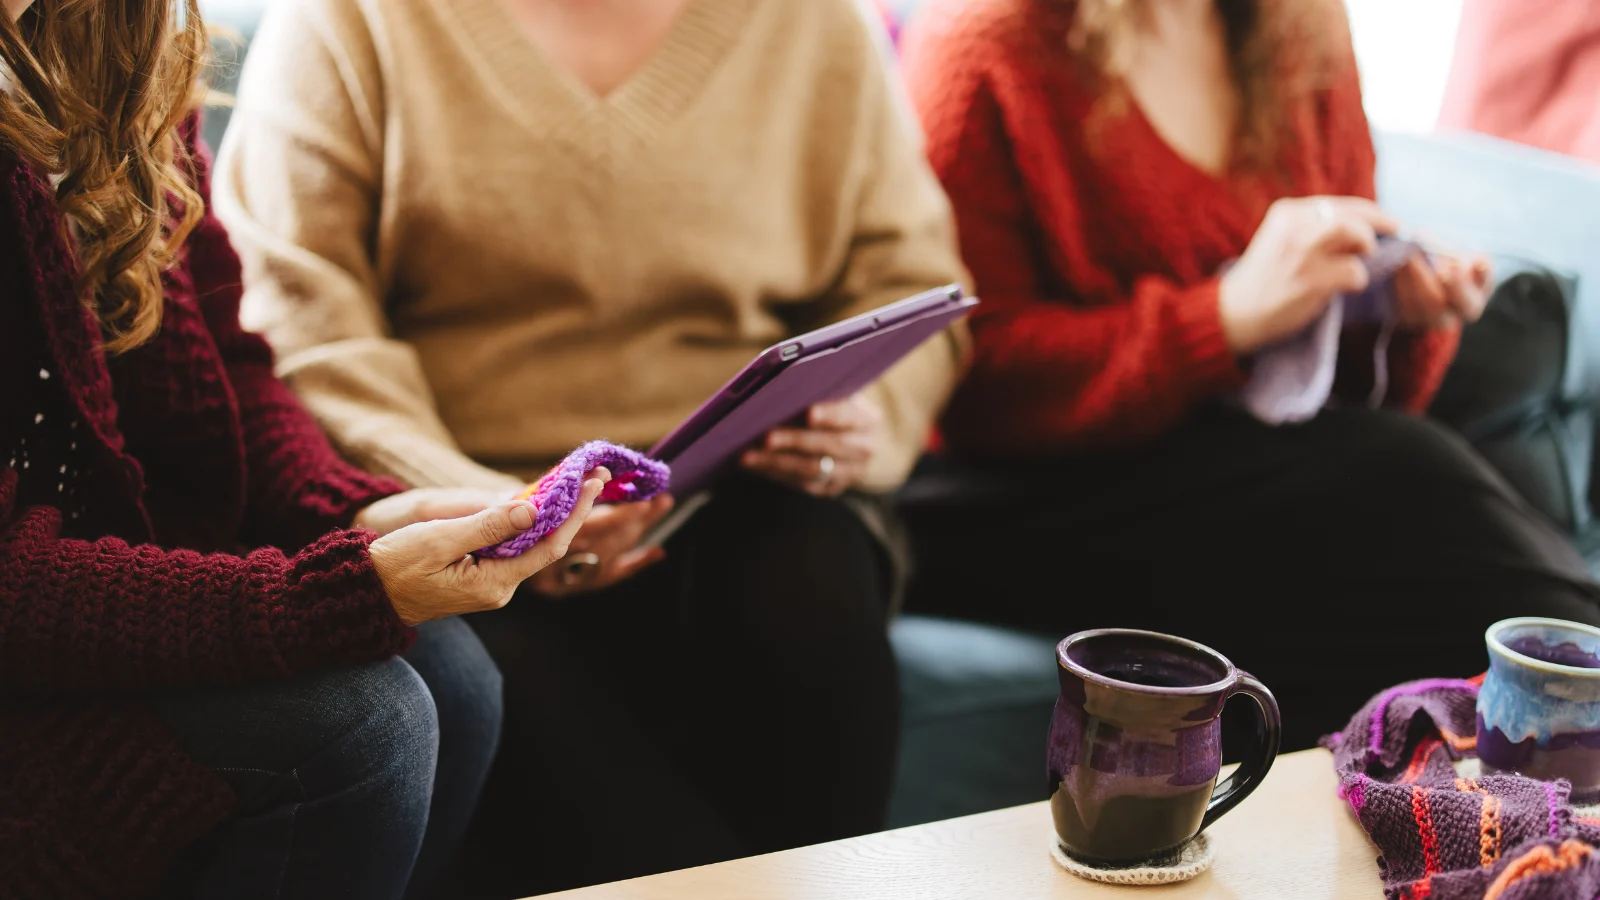
Testing: Putting the Concept to the Test
No pattern is perfect on the first attempt, and any designer who claims otherwise is not being honest. That’s where pattern testers come in. Structured testing helps identify ambiguities, miscalculations and confusing steps before publication.
Best practice includes having at least two or three people of different levels make the pattern, following the instructions as written. A beginner will reveal unclear steps or missing instructions, while an intermediate crocheter will notice subtler details. These testers will use the same yarn as the designer, or one that is an excellent substitution, to avoid finishing issues.
Testers must complete a gauge swatch prior to crocheting the pattern, to confirm their hook size and their choice of yarn. During testing, the final dimensions of the project are checked, it is verified that the project builds up as expected, and that the finished project behaves as anticipated. Testers must have the freedom to ask you questions and point out anything that confuses them. Their comments are gold: they represent the direct experience of your pattern in the hands of real crocheters.
Technical Editing: Polishing the Rough Diamond
Once the tests have been completed, the painstaking work of technical editing begins. This is where every word in the pattern, every number, every instruction should undergo detailed scrutiny by a technical editor.
A good technical editor looks for inconsistencies: is the same term used throughout the pattern for the same technique? Are stitches counted correctly at each step? Are stitch markers positioned logically? Are increases and decreases distributed evenly and symmetrically?
Beware the trap of thinking you will spot your mistakes. It is worth your time and money to have your pattern professionally tech edited.
Technical editing also includes checking terms and clarifying language. Is the use of “single crochet” accurate or should it be specified that your amigurumi pattern actually uses “cross-shaped single crochet”? Also, in today’s international market, an English-language pattern needs to specify whether it was written using UK terminology or US terminology.
Finally, the technical editing process examines the structure of the pattern itself. Are the instructions logically organized? Does the pattern naturally guide the crocheter step by step, or does it create confusion?
Final Thoughts
Professional crochet design is much more than a pretty idea and a few scribbled instructions. It’s a rigorous, iterative and meticulous process that transforms a vision into a reliable pattern that crocheters can use with confidence. Swatching establishes accuracy, grading ensures accessibility, writing properly establishes a common ground, testing validates the concept, and technical editing refines every detail.
For pattern designers, investing time in these technical steps isn’t an overload; rather, it’s an act of respect towards those who will choose to create from your work. An impeccable technical pattern becomes a transparent tool, which the crocheter can follow without wondering if they are making a mistake. As you develop your portfolio, remember that what goes on behind the scenes is never truly invisible. It’s what makes the difference between a pattern abandoned halfway through and a project completed with pride and satisfaction.
Want more tips? Get a knitting designer’s perspective with this blog post by Safiyyah Talley of the Drunk Knitter.
Read Julie’s previous article on the art of translating patterns here.