Photography is one of the most important parts of your design and design launch process. Effectively capturing your work can separate a pattern that sells well from a pattern that sells FANTASTICALLY well. The best news is that getting great photos of your work can be easy if you set yourself up for success from the beginning.
Do you need to be a professional photographer? Not at all! We’ll share our favorite photography tips with you, which will help you take amazing photos of your samples every time!
Pro tip: While shooting your work, it’s now more important than ever to capture videos. Since you are already setting up a photo layout, move your settings to video! A behind-the-scenes time-lapse video, a video panning up and down your garment, or even a slow-motion twirl can all be used in social media content after you launch your pattern.
So be efficient and capture that video to use later.
Step 1: Focus Your Shots for Clearer Design Photography
Ensure that your photos are sharp and in focus. Have you ever gone through the trouble of setting up an entire photoshoot only to go back and flip through your photos later and realize you only have a handful that are usable? This can be especially challenging to manage if you take your photos yourself.
When shooting your photographs on your own, always use a tripod, whether you’re modeling your own samples or shooting flat lays. You won’t have to worry about your hands getting tired and shaking and be able to focus on the shot itself.
You can also set shots up and later move items around in the background without worrying about continuity issues.
Pay attention to the other items in the foreground and background of your photo. If you are shooting in front of a busy street, moving cars can throw off your camera’s focus.
Taking a few extra minutes to think about every element when setting up your shots can save you hours of editing time later.
Step 2: Natural Light Photography Tips for Designers
Shoot in natural light whenever possible. This will give your photos a soft, natural look and allow true representation of your work. This means getting outside, but if that is not an option, you can also photograph near a window where the natural light is shining.
The best times of the day to shoot can vary greatly depending on the weather and your area. Generally, photographers recommend taking your photos during the last hour before sunset and the first hour after sunrise, also known as “the golden” and “magic” hours.
While bright sunny days are always the goal, depending on where you live, they aren’t always guaranteed. However, if the cloud coverage isn’t too thick and dark, taking your photos on overcast days can work to your advantage and ensure an even light diffusion in your images.
You may want to set up a photoshoot for the same item at multiple times of day to help you determine what is the best option. Then you can always plan around that time to shoot.
Whichever you choose for time of day, consistency in how you shoot your products in lighting is key.
Step 3: Use Affordable Photography Tools to Elevate Your Shots
Having the right tools doesn’t always mean buying the most expensive camera. Owning an expensive camera is fantastic if you can do it, but great photos can come from your cell phone too. There are much cheaper tools that you can add to your tool belt today that will take your photos to the next level.
A light box or other photography lighting setup will help you create even lighting when shooting smaller items indoors. It will help to avoid harsh shadows and produce evenly lit photos.
Replica Surfaces is an example of a company that sells backdrops you can use if you need access to a perfectly curated countertop or studio space.
However, you can also make your backdrops by purchasing peel-and-stick wallpaper in wood grain, brick, or flat colors and attaching them to styrofoam presentation boards.
We’ve mentioned tripods, but additionally, you can cheaply purchase a wireless shutter or set up the self-timer on your phone so that you can become a pro at taking photos while modeling in front of the camera
Step 4: Master Lighting Techniques for Design Photography
Lighting can make or break your design photos. It affects how your colors appear, how textures show up, and how sharp your images look.
If you’re shooting at night, avoid warm indoor lighting — it can distort your colors.
Try daylight-balanced bulbs (around 5000K) or adjust your white balance settings to get a clean, natural look. Even a simple setup can dramatically improve your results.

Step 5: Capture the Details & Textures
It can be easy to get distracted by the bigger picture and forget to focus on the little details. But when planning your shots, take time to capture the details of your work!
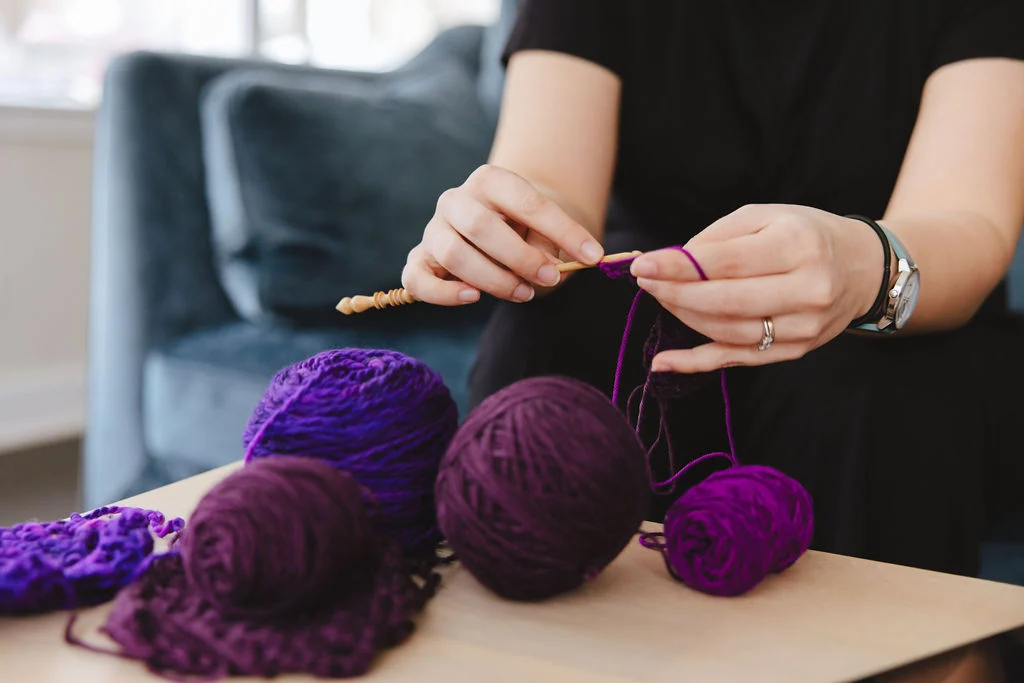
Think about what makes your pattern unique, and make sure to capture that in the photos. Close-ups of intricate stitches and colorful yarn details can be beautiful when photographed correctly and help makers see what is special about your design.
Additionally, capture images of the wrong side of your work now, even if you decide not to include them in the pattern listing. Inevitably, there will be a question about construction from a future customer. Taking process photos while you stitch and detailed images of your sample can help you for years to come.
Step 6: Create a Clean, Styled Background for Your Photos
Use creative props and backgrounds to add interest to your photos. A simple piece of fabric, a pair of needles, a ball of yarn, or a colorful backdrop can add visual appeal and make your work stand out against the background.
A white background will bring out the texture of handmade pieces, while muted colors will allow the product’s features to stand out even more. An interesting backdrop can help create an engaging composition that will draw viewers in.
Play around with different configurations before shooting and filling up your camera roll.
However, props can get overused though, too. This should add depth and interest and not take away from your sample. Adding a little too much is a super common mistake. We recommend always removing the last prop you added to your image.
Sometimes less is more.
Step 7: Edit Your Design Photos for a Clean, Professional Look
Even the best photos benefit from a little editing. Use basic adjustments like brightness, contrast, cropping, or sharpening to help your photo reflect your design’s true colors and details.
This step is often skipped, but it can take your image from good to polished — especially when posting to your shop, portfolio, or social media.
Step 8: Make Sure Your Photos Match Your Vision
Have fun with it! Photography is an art form, so experiment and play with different techniques until you find what works best for YOU.
With careful planning and consideration for each element involved in photography (lighting, angle, background, etc.), you can easily create professional-looking, high-quality images that accurately represent your handmade work without breaking the bank.
You’re one step closer to getting your pattern out into the world! Next, let’s dive into the five things you’ll need to do before you launch.
Bonus Tip: Photography Trends Designers Should Watch
Photography styles continue to evolve — and staying on top of current trends can help your work feel modern, authentic, and engaging.
Photography for designers is moving away from overly polished, staged visuals and leaning into more raw, relatable storytelling. Here are two major trends to keep in mind as you shoot your work:
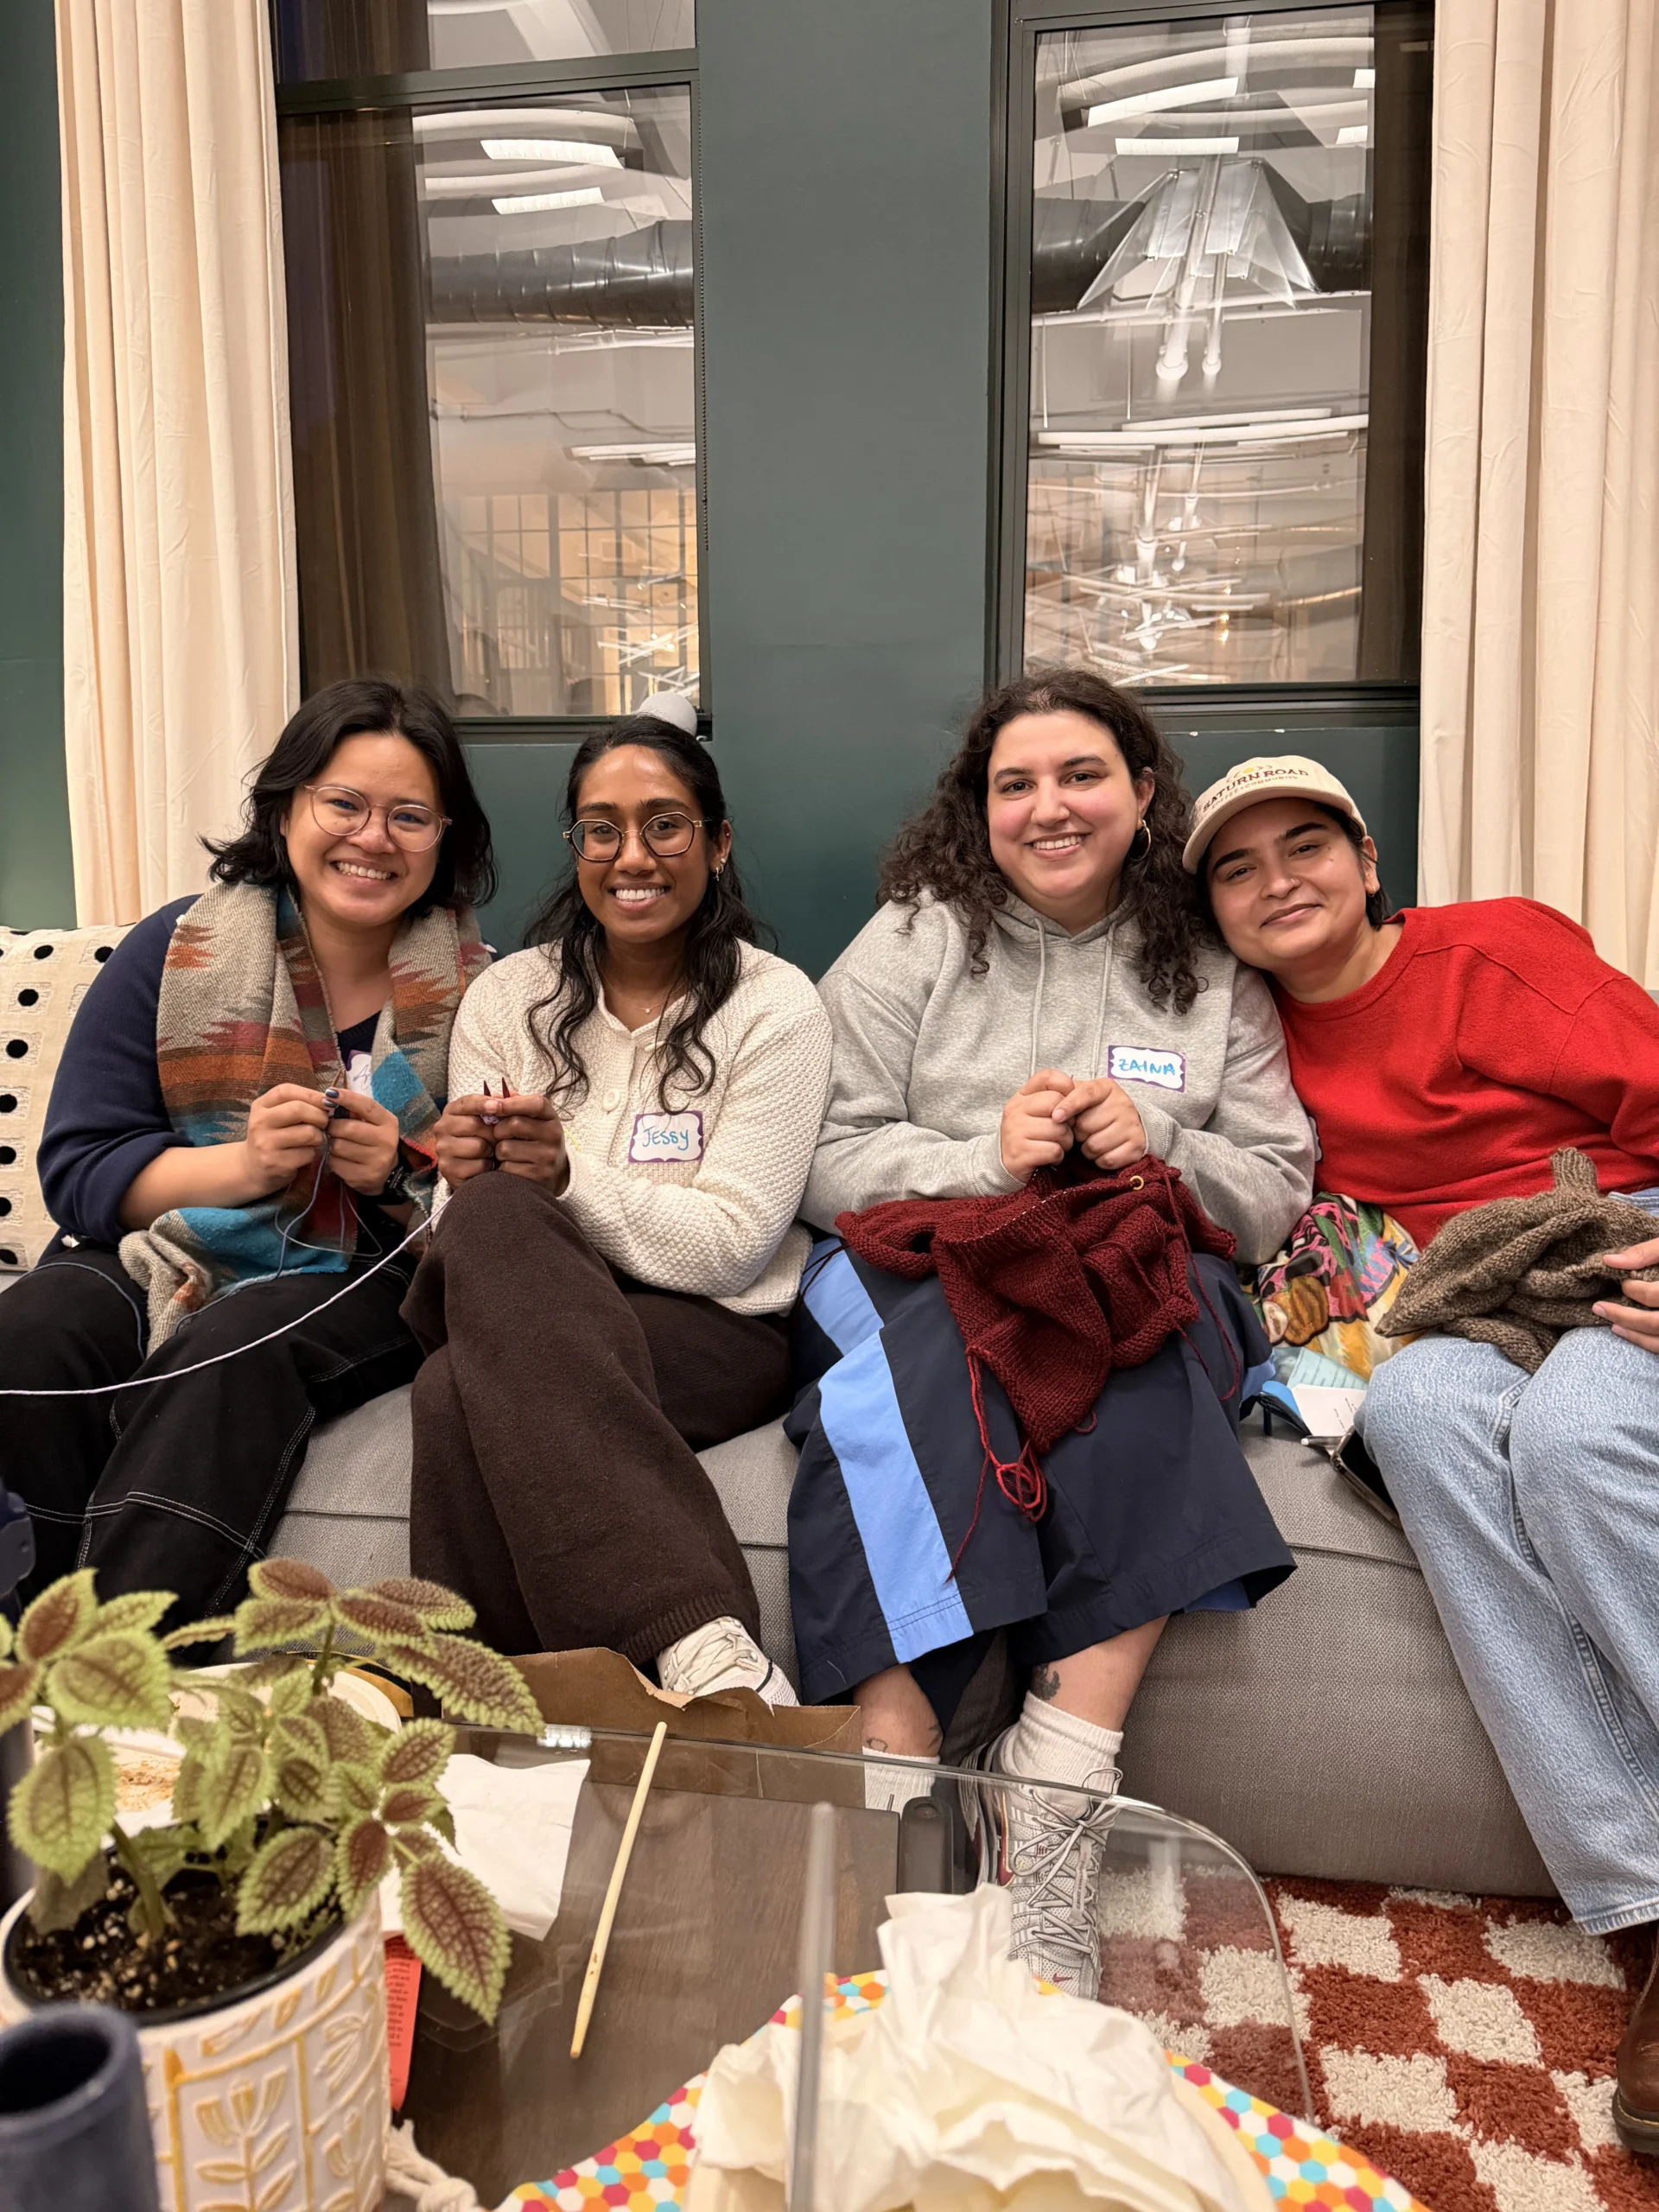
Candid Photography
- Unfiltered, in-the-moment photos are gaining popularity across creative industries.
- Rather than perfectly styled shots, brands are embracing casual, human-focused imagery to tell a story.
- Think: a hand adjusting a button, a behind-the-scenes glimpse of your process, or naturally lit spaces that feel lived-in.
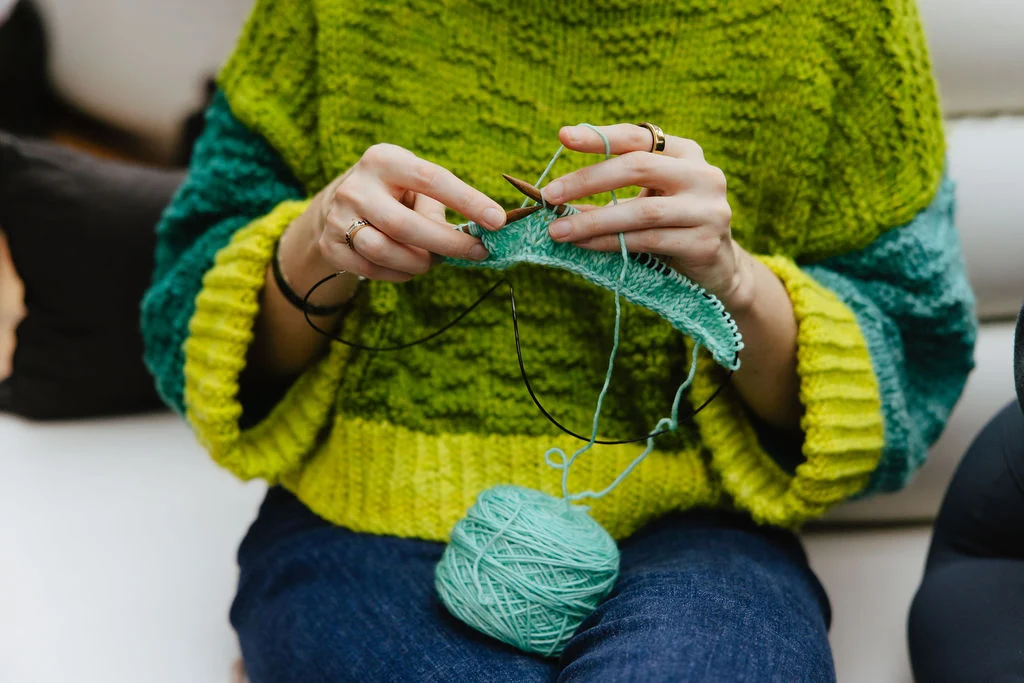
Abstract & Textural Imagery
- Designers are using textured backdrops, blurred foregrounds, and layered layouts to create a tactile look — even in digital photos.
- These techniques help add depth and sensory engagement, especially when paired with minimalist or type-heavy design.
Incorporating even subtle elements from these trends can help your design photos feel more current and emotionally resonant.
What is the rule of thirds in photography?
The rule of thirds is a simple guideline for better photo composition. Imagine your image divided into a 3×3 grid — placing your subject along those lines (or where they intersect) creates more balanced and visually interesting shots.
Where do designers find good images for their projects?
Many designers use stock photo libraries like Shutterstock, Pexels, or Canva. But when showcasing your own work, taking your own photos is the best way to keep your visuals authentic and aligned with your brand.
What’s the best lighting setup for indoor photography?
Soft, diffused lighting works best. Try placing your setup near a window with natural light or use daylight-balanced LED bulbs. Avoid direct overhead lights that can cast harsh shadows or change your colors.
Do I need a professional camera for good design photos?
Not at all! Smartphones today can capture high-quality images, especially with good lighting and editing. A tripod and a few basic tools can make a big difference in sharpness and consistency.
How can I photograph small handmade items clearly?
Use a clean background, steady lighting, and a tripod or phone stand to avoid blur. Natural light works great, but a lightbox can also help create soft, even lighting around smaller products.